Saturday, April 24, 2010

Planning a Level

Despite that I've been quiet over the past few weeks, I have been putting in some design time for The Shattered War. This has not involved me touching the toolset once, but that's not a bad thing. Most of it has been me using a pen/pencil and paper and writing and drawing ideas down.

For quest or plot ideas, I recommend writing or typing all your ideas down, even if as you're writing them you decide don't like them. Even if the idea doesn't suit currently, it might be possible to use that idea later on in a different area to give a quest/story a slightly different spin. However, when doing level design, I strongly recommend using pencil and paper. To explain why, I'll explain the rough process I go through to design a level - before I even touch the toolset.

Concept
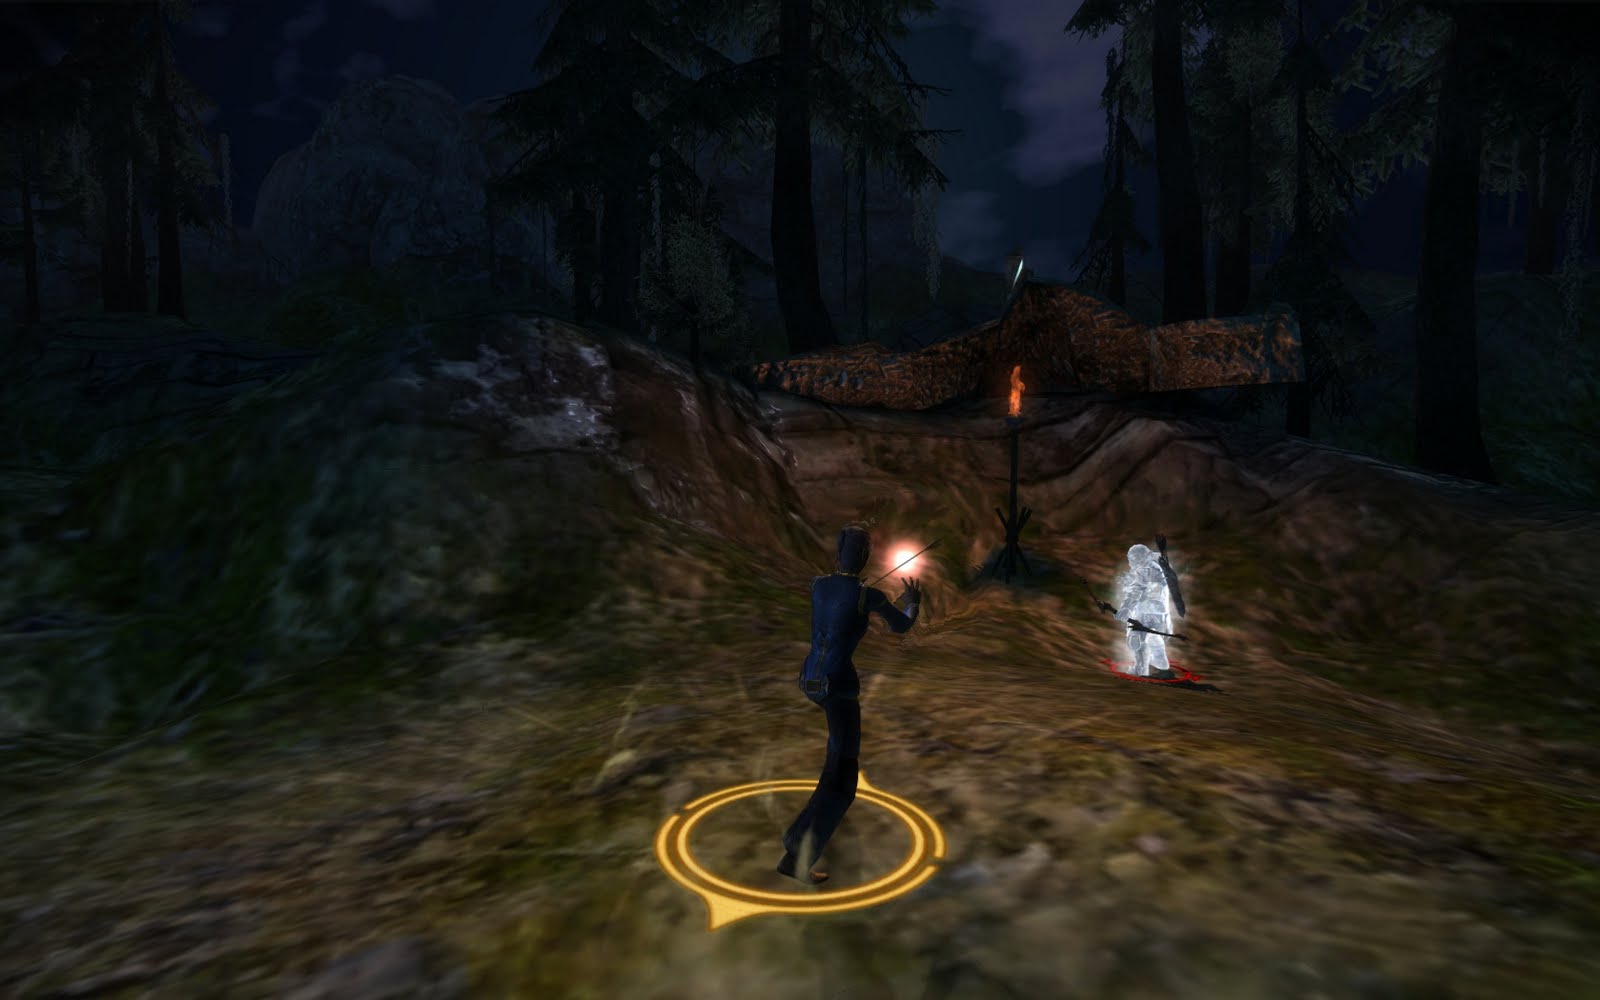
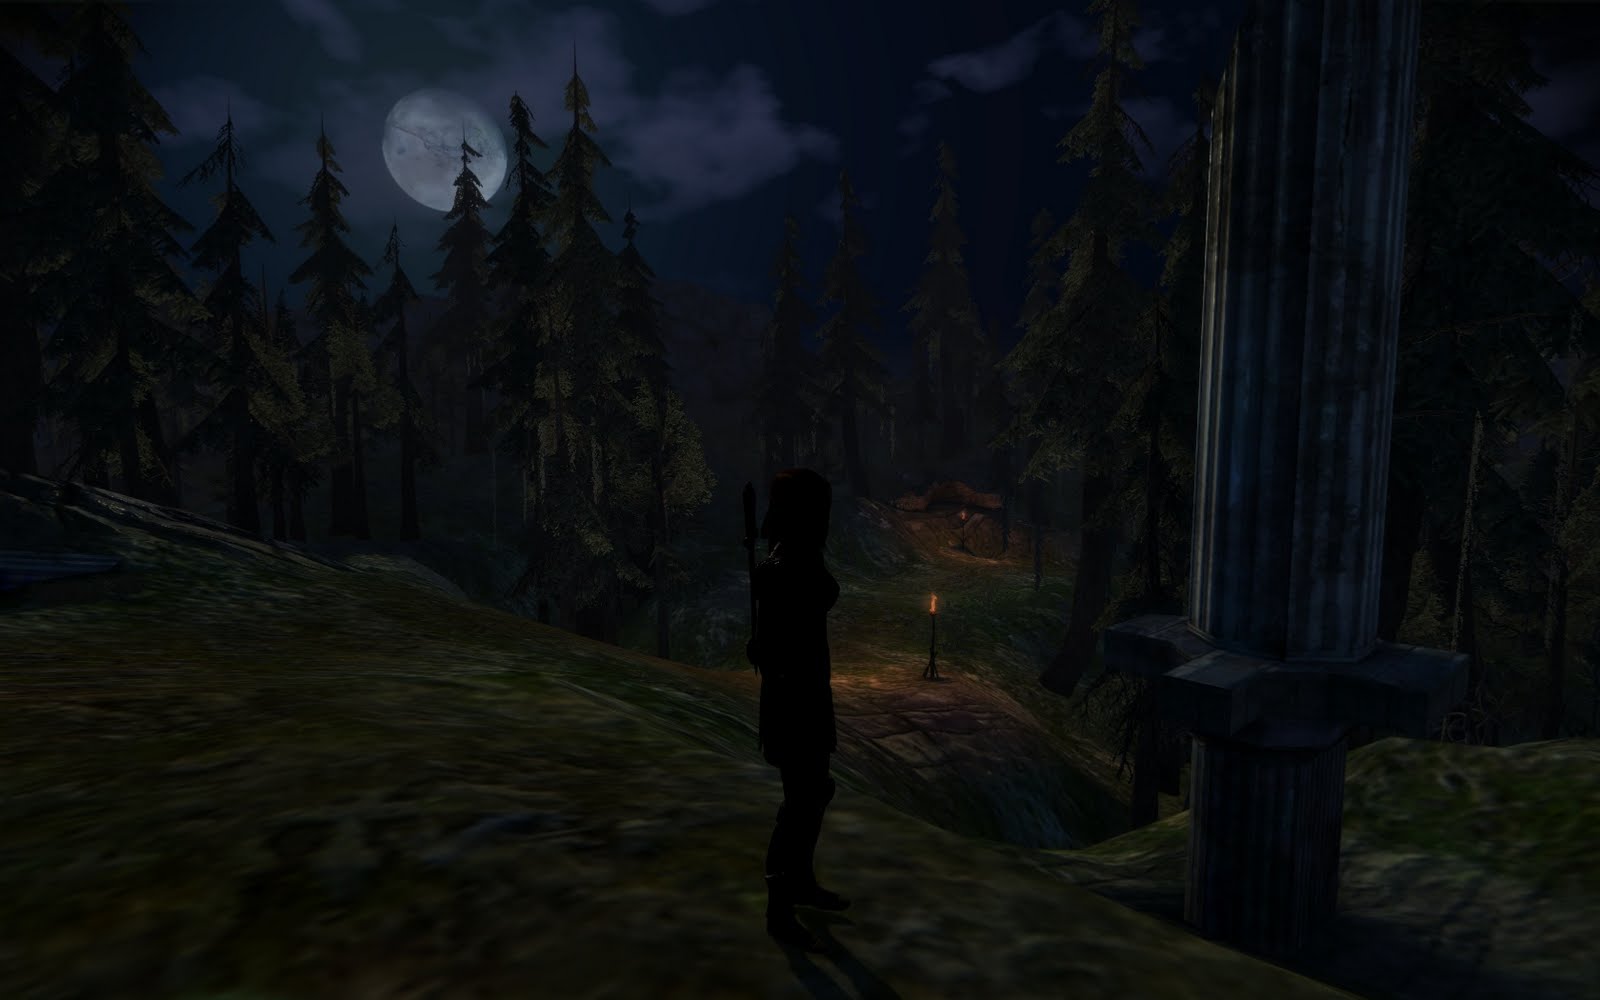
First, you need to work out what type of area your level is. Is it mountainous, hilly, dark/light, forest, snowy... You get the idea. The point is that you should have a general idea of the landscape of your area and its features. If you're not sure of the type of features that might exist in that particular terrain type, do a google search of landscape images, to see if you can't get a better handle on it. Ideally, you'll have a mental image of one (or maybe even several) "glamor shots" of interesting terrain. This might be a canyon, a lookout, or even a bridge over a river, that you want to incorporate into your level. Maybe something like this might be your inspiration:


Purpose
You also need an idea of what this level is used for in the game. Why does the player travel here and what will they do there? This will dictate the layout to some degree, as the areas the player will walk along and fight in. If they're trying to reach some goal, the entrance to the area should not be right next to that ultimate goal.

Initial Design
Your concept and purpose should give you enough of an idea to sketch out a top down map view of the area on pencil and paper. How you'll go about doing it varies - you might start with sketching out the area for your glamor shot, or perhaps the area of the key encounter of the area, or maybe where the player enters. I find it easiest to map out the path of the walkable area of the level, filling in the bits around that with small symbols indicating what is blocking the player, be it hills, rocks, trees, fences, buildings, etc.

Gameplay Concerns
As you do or review your rough sketch, you need to consider its effects on the player and gameplay. At a basic level, ask these three questions:
  • Is the level a single linear path?
  • Does the level require a lot of backtracking?
  • Is the level too open/enclosed?

If the level is linear, players can become annoyed due to a lack of choice in how they move through the level. If the level is very small, then this is less of a concern.
If the level requires a lot of backtracking players get bored. No one wants to walk through long empty paths where nothing happens.
If a level is too open the player can potentially get lost or spend a long time searching the entire area. If the area is too enclosed, then there may not be enough room to manage fights properly.

If you pick up a book on computer game level design you'll see there are many more issues to consider, but asking those three questions will help immensely.

Refining
Nothing is ever perfect the first time. Do tweak your design to provide better gameplay, and don't be afraid to redraw an entire section if it doesn't work. Treat your "glamor shot" as a guide, rather than a straitjacket - don't let it ruin your level's functionality - and be willing to abandon it if it doesn't fit within the design you've created.

Annotate
One thing to remember, especially when designing exterior levels, is that ground is not flat. You've most likely included hills in your design (and if you haven't, how are you going to stop the playing from seeing the "edge" of your level in-game?), but remember that the level itself can have an overall slant, e.g. the southern part of the hillside might be lower than the northern part, and run slightly downhill as it heads West. Draw symbols on your map to indicate the height gradient where possible. Finally, number any points of interest on the map, and write a legend indicating what they are. This will help when it comes to designing the level in the toolset itself.

With all those steps done, you should be armed with a good map with which to start your level design in the toolset itself! But I'll leave that process for another day...

Saturday, April 10, 2010

Light at the End of the Tunnel

Firstly, I must thank all the helpful folk on BioWare's social forums in try to help me identify the cause of my lighting issue. In particular, I should mention "FlyingDonkey" for telling me to "Post to Local" while the single player campaign was set as the active module. My characters now actually have proper lighting...

So now I'm set to produce more levels that actually look as they are supposed to. However, this process has made me realise that there perhaps needs to be a guide for new modders to teach them how to go about the process of creating and lighting a level.

I'm trying to distill the relevant facts about various parts of the process into some sort of useful format, as I started to do in this forum thread specifically related to lighting. I'm mindful that I'm not yet an expert in level editing within the Dragon Age toolset, but I'm hoping I'll get there! So I'll have to rely on those who've been going through the level creation process for longer than I have to flesh out some of the missing points in my knowledge. If you can contribute, please do, whether it's in that thread, or on the toolset wiki itself!

Monday, April 5, 2010

Stumbling Forward in Darkness

Well, I've made some progress on my Dragon Age level from last time, most notably, getting a bit more of a handle on decoration, and coming to terms with lighting and exporting. Unfortunately, I'm still not quite there. So my moment of glory as a fully fledged level designer in the Dragon Age toolset is tantalizingly close, yet still out of reach.

My issues:
1) The scale of objects in the level editor seems off to my eyes. Things look a lot smaller than they actually are. If there's an easy way to get a person sized reference model inside the toolset, I'd love to hear it. The scale isn't horrible for this first level, but I'm mindful that it could be better, and I like correcting problems sooner rather than later.
2) I've still not fully come to grips with lighting. I'm sure there's something I'm missing, but I'm not sure what it is.

As far as I was aware, I'd done the right things. I've got a light probe in the level, along with three static lights around the level with huge radii with dim color settings that I shamelessly grabbed from the Lake Calenhad level layout. Yet, I've still got the issue that my character is entirely black when in shadow... But the side facing the moonlight is fine.


Maybe I should have taken another screenshot where you can actually see the character lit up by the moonlight to demonstrate the issue, but I'm sure someone has run into this before. I'd love to hear solutions if anyone knows what I'm doing wrong.

And for everyone else... I hope you think this first in-game shot of my very first level looks pretty! So rest assured that you can expect some nice new scenery in The Shattered War!

Saturday, April 3, 2010

Building the Great Unknown

Today I've taken my first steps along the path of level creation within the Dragon Age toolset. Previously I'd opened the level editor up, failed to move around (thanks to a finicky issue with the scroll wheel click not acting as a middle mouse button), and quit. Even after I'd solved that, I has shied away from attempting again after seeing the near indecipherable model lists for art assets... yes, that's what that image on the right is, a partial list of the folders containing items to pretty up Dragon Age levels. Good luck figuring that out without a set of screenshots or a glossary.

But having mapped one of my spare buttons to act as the middle mouse, and knowing the only way to learn was by doing, I opened up the level editor this morning and had a go at it. My initial level was... too small. It seems 64mx64m is not really sufficient for an exterior area once you put in a few props and try to create some background to stop the player seeing past the edge of the terrain. But after ditching that and trying a 256mx256m area, I came up with something passable. It's still a work in progress, but this is my learning curve of dealing with a new level editor and part of the result of about 8 hours work.

You can click that(and the one further down) for a higher resolution image, by the way. I'm sure I'm making mistakes as I go, so anyone spots any glaring newbie errors in area creation, I'd be highly grateful if you could point them out to me. Please note that I've taken these screenshots from the toolset, and I'll reiterate that it is a work in progress. I'm yet to put down many models to clutter the area, and I've not even attempted any lighting. I also was not brave enough to try to use water for this first effort. I thought I'd start simple and work my way up in complexity.

One thing that did take me ages to work out how to do was to create overhangs. I was very happy when I saw overhangs in Dragon Age's landscape, but had forgotten about them. But, as I opened up one of the single player levels to find some trees, I saw one, and realised I didn't have any in my level. As such, I just had to have one. Or several. Then came the hair-tearing process of working out the level designers had done it. No matter how I used the terrain tools, I couldn't get it to work. Just as I was about to admit defeat and ask on the forums, I found the solution. It had been staring me in the face. It was the deform tool... but you need to change an option in the Object Inspector:

Simply set the Deform Mode to "Extrude along normal" and you can now make overhangs. Just extrude the face sideways, and use the tessellate tool to increase the density of your terrain mesh to get a nicer looking cliff/overhang. See exhibit B on the left in the foreground, and also exhibit C further back on the right.

I feel I should try and put together what I've learned in some kind of level editing "walkthrough" at some point to help other people through the other issues I've fought with bitterly. Though I might leave that for when I've been doing it for more than one day and actually have a playable level/area!